

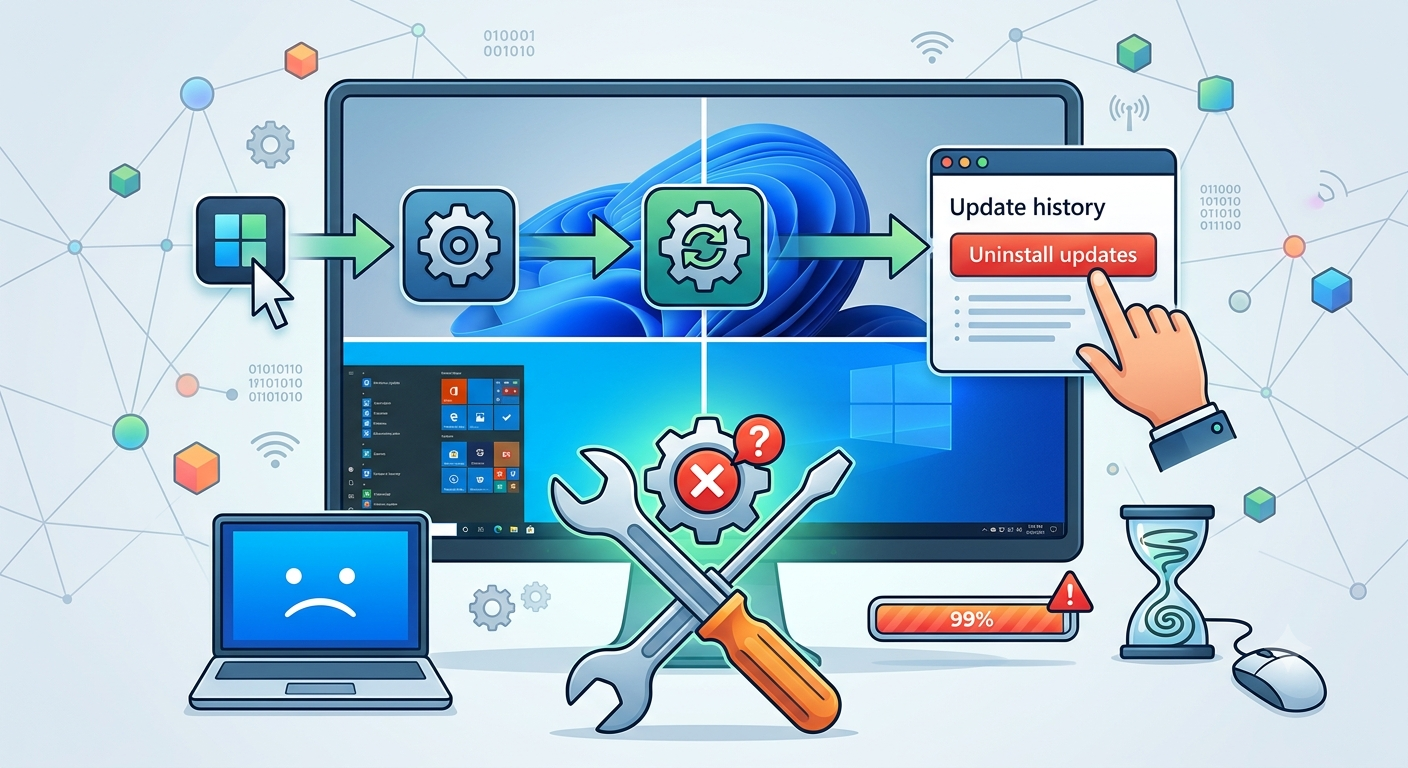
Windows updates play an important role in keeping your computer secure, stable, and equipped with the latest features. Microsoft regularly releases cumulative updates, security patches, bug fixes, and feature updates to improve the Windows experience. However, despite extensive testing, some updates can introduce unexpected issues instead of fixing them.
Many users have experienced problems after installing a Windows update, including system crashes, blue screen errors, boot failures, application crashes, gaming performance issues, driver incompatibility, or unusually slow performance. While Microsoft usually releases another update to resolve these issues, waiting for an official fix isn’t always practical—especially if you rely on your computer for work or study.
Fortunately, Windows provides several ways to uninstall problematic updates and restore your PC to a stable condition. Whether your system boots normally or refuses to start, this guide explains multiple methods to safely remove troublesome Windows updates in both Windows 11 and Windows 10.
Before You Uninstall a Windows Update
Before removing any update, it’s worth taking a few precautionary steps.
First, identify the update that is causing the issue. Windows updates are assigned unique KB (Knowledge Base) numbers, making it easier to locate the correct update.
If your computer is still functioning, create a System Restore Point. This gives you the option to restore your system if something goes wrong during the uninstall process.
You should also check Microsoft’s official release notes. Sometimes the issue you’re experiencing is already acknowledged, and Microsoft may have released a fix or workaround.
Finally, pause Windows Updates temporarily. Otherwise, Windows might automatically reinstall the update after you’ve removed it.
To pause updates:
- Open Settings
- Navigate to Windows Update
- Select Pause Updates
- Choose how long you want to pause updates
Method 1: Uninstall Windows Updates Using Settings
The easiest way to remove an update is through the Windows Settings application.
Steps
- Press Windows + I to open Settings.
- Click Windows Update.
- Open Update History.
- Scroll to the bottom and select Uninstall Updates.
- Locate the recently installed update by checking its installation date or KB number.
- Select the update and click Uninstall.
- Confirm the removal and wait for Windows to complete the process.
- Restart your computer.
This method works well for most cumulative and quality updates.
Method 2: Remove Updates Through Control Panel
Some users prefer using the classic Windows interface available in Control Panel.
Steps
- Press Windows + R.
- Type:
appwiz.cpl
- Press Enter.
- Click View Installed Updates.
- Locate the update you want to remove.
- Click Uninstall.
- Restart your PC once the process completes.
Although Microsoft is gradually moving settings into the modern Settings app, Control Panel remains a reliable option for uninstalling updates.
Method 3: Use Command Prompt (WUSA)
If Windows refuses to uninstall an update through the graphical interface, you can use the Windows Update Standalone Installer (WUSA).
Step 1: Find the KB Number
Open PowerShell as Administrator and run:
Get-HotFix | Select HotFixID, InstalledOn, Description | Sort InstalledOn -Descending
This command displays recently installed updates.
Step 2: Remove the Update
Open Command Prompt as Administrator and run:
wusa /uninstall /kb:KBNumber
Replace KBNumber with the actual update number.
For example:
wusa /uninstall /kb:5060842
Windows will ask for confirmation before uninstalling the update. Restart your computer afterward.
This method is especially useful when the graphical interface fails or becomes unavailable.
Method 4: Uninstall Updates from Windows Recovery Environment (WinRE)
Sometimes a faulty Windows update prevents Windows from booting completely. In such cases, you must use the Windows Recovery Environment.
Access WinRE
Force your PC to shut down during startup three consecutive times. On the fourth boot, Windows automatically launches Recovery Mode.
Alternatively, boot from a Windows installation USB drive and choose Repair your computer.
Remove the Update
Inside WinRE:
- Select Troubleshoot
- Choose Advanced Options
- Click Uninstall Updates
- Choose either:
- Latest Quality Update
- Latest Feature Update
- Follow the instructions on the screen.
Once finished, restart your PC.
This is often the quickest way to recover a computer stuck in a boot loop after a Windows update.
Method 5: Remove Windows Updates Using DISM
DISM (Deployment Image Servicing and Management) is a powerful command-line utility designed to service Windows images. It can also remove update packages that cannot be uninstalled normally.
Find the Package
Open Command Prompt as Administrator and run:
dism /online /get-packages | findstr KBXXXXXXX
Replace KBXXXXXXX with your update number.
Windows will display the package identity.
Remove the Package
Run:
dism /online /remove-package /packagename:PackageIdentity
Replace PackageIdentity with the exact package name shown in the previous command.
Wait until DISM completes the process and restart your computer.
Although this method is more advanced, it is extremely useful when other uninstall options fail.
What If Windows Won’t Let You Remove the Update?
Sometimes Windows displays an error while uninstalling updates.
One common reason is that Windows Sandbox is enabled. Since Sandbox relies on container technology, it may prevent certain update packages from being removed correctly.
To disable Windows Sandbox:
- Search for Turn Windows Features On or Off
- Open the feature list
- Uncheck Windows Sandbox
- Restart your computer
- Try uninstalling the update again
After successfully removing the update, you can enable Windows Sandbox once more.
Common Reasons Windows Updates Cause Problems
Although Windows updates are carefully tested, they must work with millions of hardware combinations. This makes occasional issues unavoidable.
Some common causes include:
- Outdated graphics drivers
- Faulty chipset drivers
- Corrupted Windows system files
- Antivirus software conflicts
- Unsupported hardware
- Third-party optimization software
- Storage-related problems
- BIOS compatibility issues
Sometimes the update simply exposes an existing issue rather than creating a new one.
Troubleshooting Before Removing the Update
Before uninstalling a Windows update, try these solutions:
Update Drivers
Old graphics, network, or chipset drivers often cause compatibility problems after Windows updates.
Run System File Checker
Open Command Prompt as Administrator and run:
sfc /scannow
This command repairs corrupted Windows system files.
Repair Windows Image
Run:
DISM /Online /Cleanup-Image /RestoreHealth
This repairs damaged Windows components.
Boot into Safe Mode
If Windows starts normally in Safe Mode, the issue is likely related to drivers or third-party software rather than the update itself.
Check Event Viewer
Windows Event Viewer provides detailed error logs that can help identify the real source of crashes or boot failures.
Why Some Updates Cannot Be Uninstalled
Not every Windows update supports removal.
Microsoft now combines Servicing Stack Updates (SSUs) with Latest Cumulative Updates (LCUs). Since Servicing Stack Updates are essential for Windows Update itself, Microsoft doesn’t always allow them to be removed independently.
If WUSA reports that an update cannot be uninstalled, DISM may still work. Otherwise, you may have to wait for Microsoft to release a corrective update.
Tips for Managing Windows Updates
To reduce future problems:
- Install updates only after creating a restore point.
- Wait a few days before installing major feature updates.
- Keep device drivers updated.
- Avoid using registry cleaners or system optimization tools.
- Regularly back up important files.
- Pause updates temporarily if widespread issues are being reported.
- Keep enough free disk space before installing Windows updates.
These simple habits significantly reduce the risk of update-related issues.
Final Thoughts
Windows updates are designed to improve security and performance, but no software is perfect. Occasionally, an update may introduce unexpected bugs that affect stability, performance, or hardware compatibility.
Fortunately, Windows provides multiple ways to remove problematic updates. Whether you prefer using the Settings app, Control Panel, Command Prompt, Windows Recovery Environment, or DISM, each method serves a different scenario and can help restore your computer to normal operation.
Whenever possible, treat uninstalling updates as a temporary solution rather than a permanent fix. Microsoft frequently releases follow-up patches that resolve known issues while maintaining your system’s security. After your PC becomes stable again, keep an eye on official update releases and install the corrected version once it becomes available.
By understanding these uninstall methods and following proper troubleshooting practices, you can confidently recover from most Windows update problems without reinstalling the operating system.






Leave a Reply