

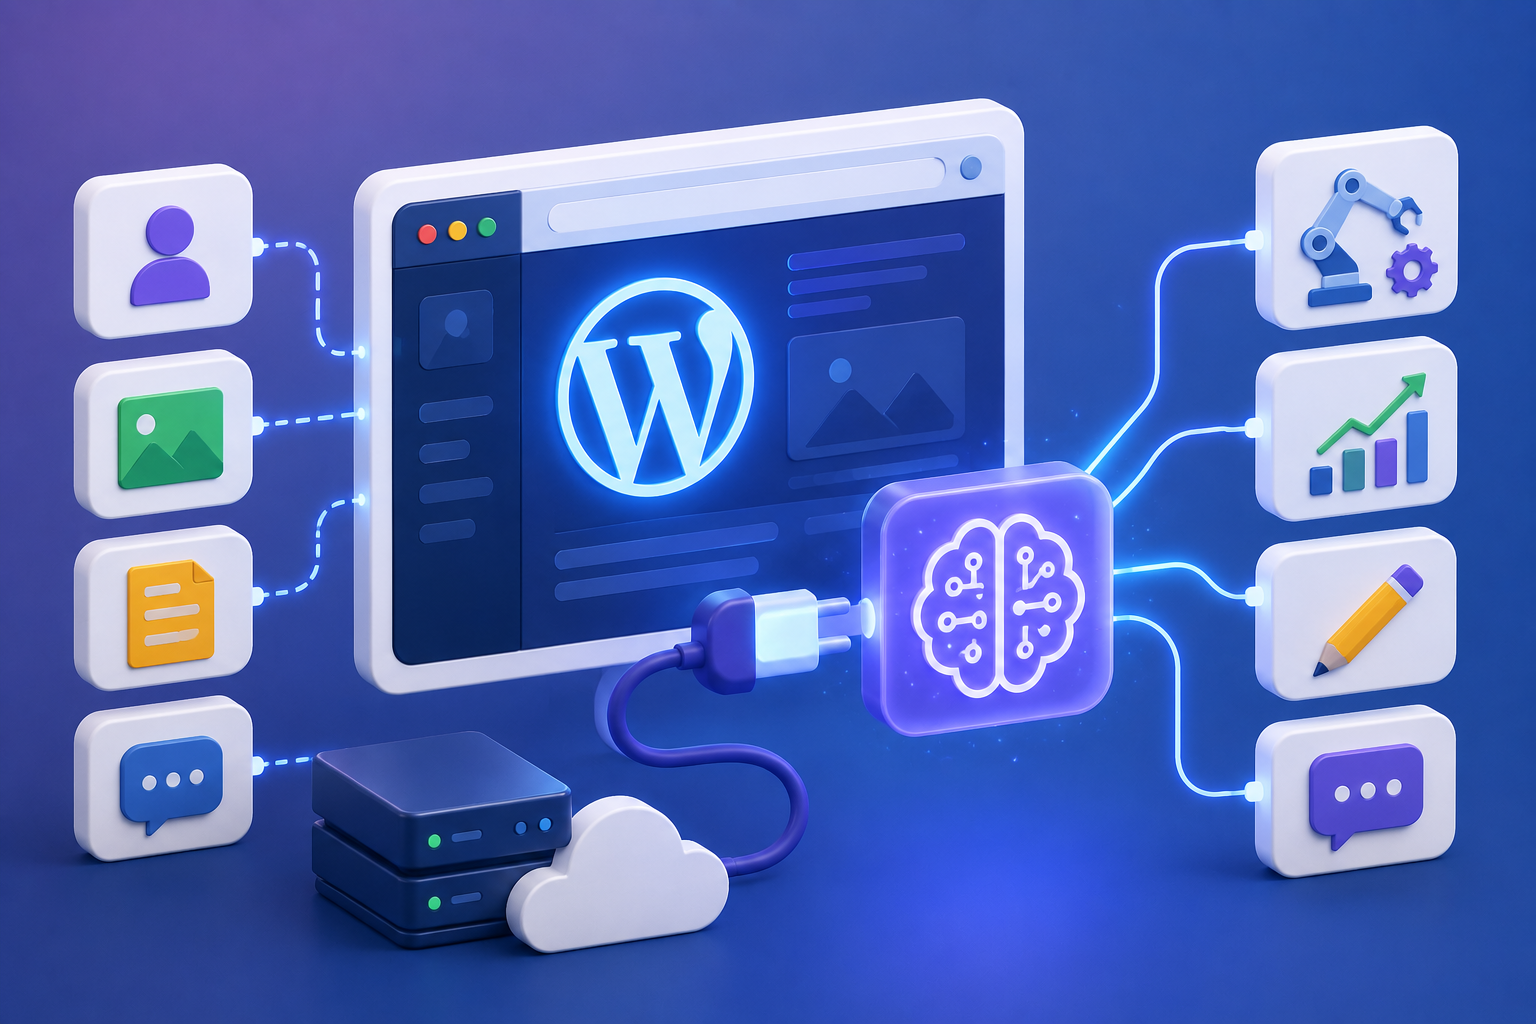
You Don’t Need a Budget to Run AI on WordPress
A lot of WordPress owners assume AI automation means signing up for another SaaS subscription — one more line item stacked on top of hosting, a page builder, and an SEO plugin. That’s not actually true anymore.
Every major AI provider — OpenAI, Google, Anthropic, DeepSeek, and Perplexity — offers API access with a free usage tier or trial credits. And a growing number of WordPress automation plugins let you connect those APIs directly to your site with zero code and no recurring automation fee, beyond whatever the AI provider itself charges for usage past the free tier.
This guide covers what’s actually free, which AI tools work well for which jobs, and how to wire one up end-to-end.
Which AI Tools You Can Actually Connect for Free
“Free” here means two things layered together: the WordPress-side connector doesn’t charge you to build the workflow, and the AI provider gives you enough free usage to run real automations before you’d ever need to pay.
- OpenAI (ChatGPT/GPT models) — the most flexible option for general writing, summarization, and structured data extraction. New accounts typically get a small block of free trial credit, and usage costs are low per request for lighter models.
- Google Gemini — strong at summarization and returning clean, structured output (like JSON), which makes it a good fit for automations that need to feed data back into specific WordPress fields. Google’s API has a genuinely free tier for lower-volume use.
- Anthropic’s Claude — well suited to longer-form writing, careful tone control, and tasks where you want fewer factual liberties taken with the source material.
- DeepSeek — an open-weight model option that’s inexpensive to run and works well for internal tools like FAQ generation or lightweight knowledge lookups.
- Perplexity — different from the others in that it’s built to search and cite current information rather than rely purely on trained knowledge, which makes it useful for anything that needs up-to-date facts (market data, current events, “latest X” content).
You don’t need to pick just one. Most automation plugins let you mix models — using Claude for the actual writing and Gemini to generate the SEO metadata for the same post, for instance.
Two Ways to Connect AI to WordPress
There are really two paths, and which one fits depends on your comfort with code.
The no-code path uses a WordPress automation plugin (Uncanny Automator, Bit Flows, FlowMattic, and SureTriggers all offer some version of this) that provides a visual, drag-and-drop workflow builder. You pick a trigger — a form submission, a new post, a scheduled time — add an AI step, plug in your API key, write a prompt, and map the output to WordPress fields. No PHP required.
The code path calls the AI provider’s API directly from a custom plugin or theme function. This gives you full control and no dependency on a third-party plugin, but it means writing and maintaining PHP, handling API errors yourself, and managing your own field mapping.
For most site owners, the no-code path is the more practical starting point — it gets a working automation live in under an hour, and you can always move specific pieces to custom code later if you outgrow the visual builder.
Real Workflows You Can Build Today
These are the automations that tend to save the most time in practice, roughly ordered by how commonly people start with them:
Scheduled content drafts. A weekly trigger fires, an AI step writes a draft based on a rotating topic list or keyword sheet, and the result lands in WordPress as a draft post for a human to review before publishing. This isn’t “publish whatever AI writes” — it’s “stop staring at a blank page every Monday.”
Auto-generated SEO metadata. When a new post is saved, send the content to an AI step and have it generate a meta description and title tag variant, then map that output back into your SEO plugin’s fields.
Social captions from published posts. After a post goes live, send the full text to an AI model and ask for two or three short, platform-appropriate summary lines for social sharing — save someone the job of re-reading their own 1,500-word article to summarize it.
Product description drafts for WooCommerce. When a new product is added with just a title and a few specs, an AI step can draft a first-pass description. Someone should still edit it, but starting from a draft beats a blank field.
Instant first-response customer replies. A contact form submission triggers an AI step that drafts a reply addressing the specific question asked, which either gets sent automatically for simple FAQs or routed to a human for anything more sensitive.
Content repurposing. Take an existing post and ask an AI model to rewrite it in a different tone, format it as a listicle, or translate it — useful for stretching one piece of writing across more formats without starting from scratch each time.
Setting Up Your First Workflow: A ChatGPT Example
Here’s what building a simple “form to AI-drafted post” workflow generally looks like, regardless of which automation plugin you choose:
1. Install and activate your automation plugin. From your WordPress dashboard, go to Plugins → Add New, search for your chosen tool, install, and activate it.
2. Create a new workflow and set a trigger. Pick what starts the automation — a form submission is the easiest starting point, since it gives you a clean input (a topic, a title, some notes) to hand to the AI. Submit a real test entry so the plugin captures a sample of the actual data structure you’ll be mapping later.
3. Add an AI action and connect your API key. Select “ChatGPT” or “OpenAI” as the action, choose an event type like “chat completion,” and paste in your OpenAI API key when prompted. Pick a model — a lighter, cheaper model is fine for most drafting tasks; save the more expensive ones for anything that needs deeper reasoning.
4. Write a specific prompt. Reference the fields from your trigger step directly in the prompt — the submitted title, notes, or keywords — rather than writing a generic instruction. A prompt like “write an 800-word blog post about {{submitted_topic}} with three subheadings and a conversational tone” will consistently outperform “write a blog post.”
5. Run a test. Most plugins have a “test run” button that executes the workflow once with your sample data so you can see exactly what the AI generated before it touches your live site.
6. Add a WordPress action to publish the result. Add a final step that creates a new post, mapping the AI-generated text into the post content field and the trigger’s title field into the post title. Set the post status to “draft” rather than “publish” — at least until you trust the pipeline enough to skip the review step.
7. Review before publishing. Even a well-tuned prompt benefits from a human pass — checking facts, adjusting tone, and adding anything genuinely specific to your brand that a general-purpose model wouldn’t know.
The same basic shape — trigger, AI step with a specific prompt, output mapped into a WordPress field — applies whether you’re generating a full post, a product description, or a short social caption. Only the trigger and the prompt really change.
Getting Better Output: Prompt and Setup Tips
- Be specific, not just polite. “Write a 600-word comparison of X and Y, aimed at beginners, with a short intro and a closing recommendation” beats “write about X vs Y” every time.
- Use dynamic fields instead of hardcoding. Reference the actual submitted data (a title, a set of specs, a customer’s question) inside your prompt so each run produces something genuinely tailored, not a templated response with the blanks filled in.
- Match the model to the task. Lighter, cheaper models are usually fine for short outputs like meta descriptions or social captions. Save your higher-capability model calls for longer-form writing or anything requiring more nuanced reasoning.
- Adjust temperature deliberately. Lower settings produce more consistent, factual output — good for things like data extraction or summaries. Higher settings add more variation and creative phrasing — better for social captions or brainstorming.
- Iterate with test runs. Don’t tune a prompt by guessing. Run it, look at the actual output, adjust one thing at a time, and run it again.
- Add a content gate for anything published automatically. A simple condition — like checking that the output contains expected keywords or meets a minimum length — catches obviously broken AI responses before they go live unattended.
Security and Privacy Considerations
Connecting AI to your site means data leaves your server and goes to a third party, even briefly, so it’s worth being deliberate about what you send and how the connection is secured.
- Self-hosted automation plugins keep your workflow logic and stored data on your own server — only the specific content you map into an AI step actually gets sent to that provider’s API.
- Confirm your connections use encrypted transport (TLS/HTTPS) for any data moving between your site and an AI provider.
- Store API keys securely and avoid pasting them anywhere outside your plugin’s dedicated credential fields.
- Avoid sending sensitive personal data — customer PII, payment details, private messages — through general-purpose AI prompts unless you’ve specifically confirmed the provider’s data handling terms support that use case. Content automation (blog drafts, product copy, social captions) is generally lower-risk than anything touching real user data.
- Use role-based access controls if your automation plugin supports them, so only trusted team members can view or edit workflows that touch AI credentials.
What This Actually Costs
The WordPress-side automation can be genuinely free — most of these plugins offer a free tier with no workflow limits, sometimes with a paid upgrade for higher volume or premium integrations. The AI usage itself is usually billed per token by the provider directly, not by the WordPress plugin, and for a small-to-medium content workflow, that cost is often low enough to fall within a provider’s free tier or amount to a few dollars a month at most.
The practical way to keep costs predictable: set reasonable max-token limits on your AI steps, use lighter models for simple tasks, and check your workflow logs periodically to see actual token usage rather than guessing.
Where to Go From Here
Start with one workflow — a single form-to-draft-post pipeline is enough to learn how trigger, AI step, and output mapping fit together. Once that’s running reliably, layering in more (auto-generated metadata, social captions, product descriptions) is mostly repeating the same pattern with a different trigger and a different prompt.
The point isn’t to remove yourself from the content process entirely — it’s to stop starting from a blank page every time.






Leave a Reply